Lots of foliage from your garden – we’ve used herbs, eucalyptus, weeping pear, spirea and heuchera
For your flowers you want to think about shape. Having a mixture of round and spikey flowers gives your hand-tied a gorgeous rustic bouquet.
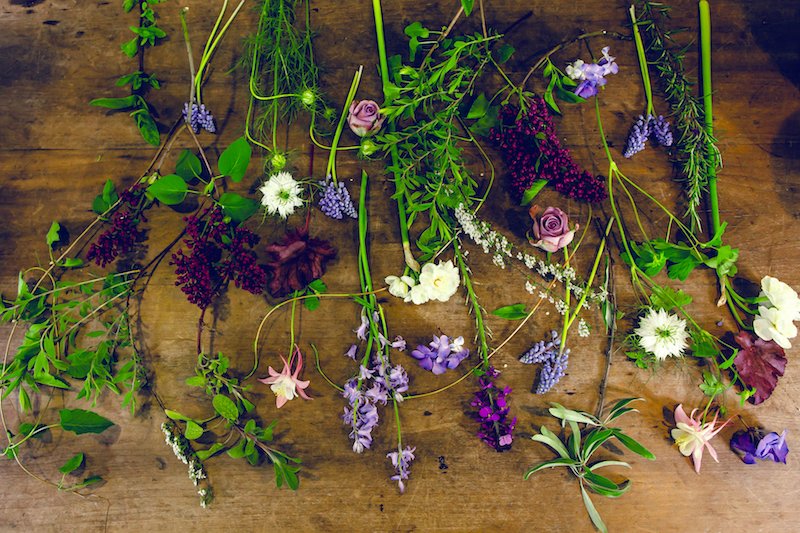
We’ve used 3 stems of lilac, 8 Memory Lane roses, a bunch of muscari, 10 stems of wallflowers, aquilegia, 8 bluebells, 1 bunch of nigella and 10 stems of narcissi.
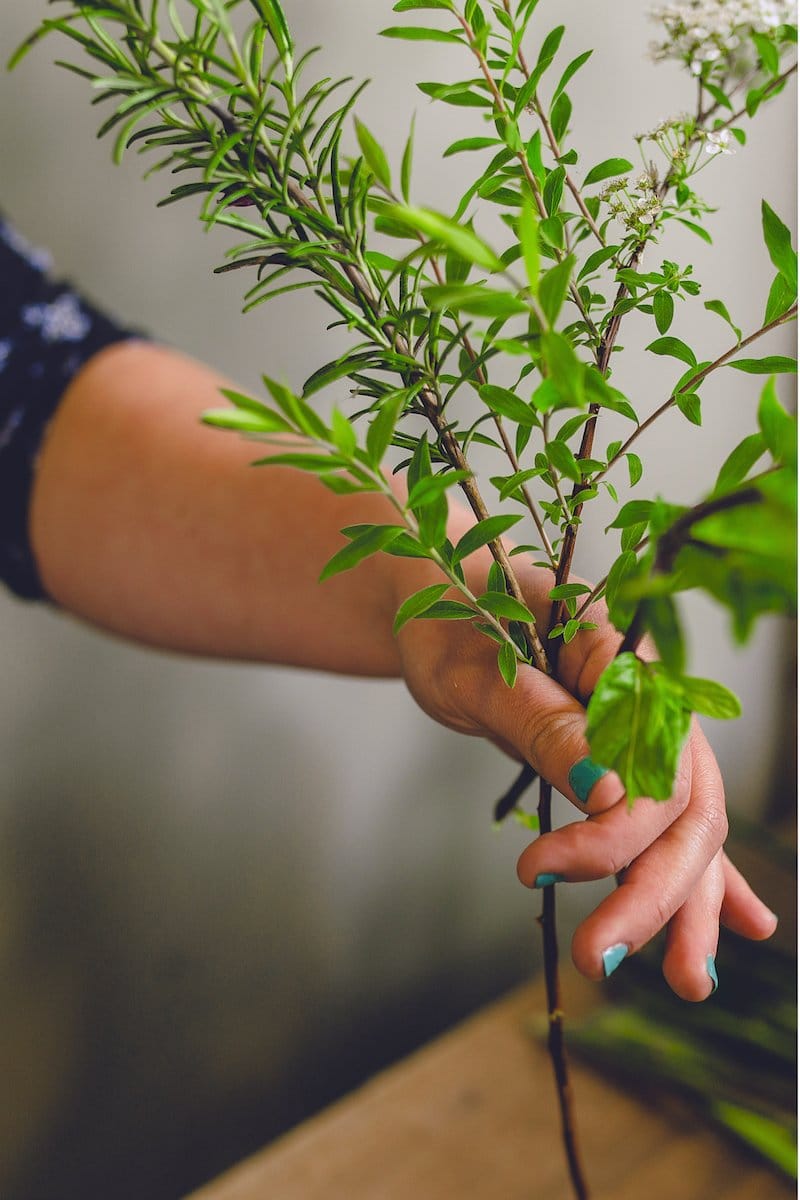
I always start my hand-tied bouquets with my foliage; it’s the base of your arrangement and will hold all your beautiful flowers in place. Loosely grab a small handful of foliage into your non-writing hand. Have a think about the height of the foliage; this will be the final height of your bouquet. My bouquets around normally around 20cm high.
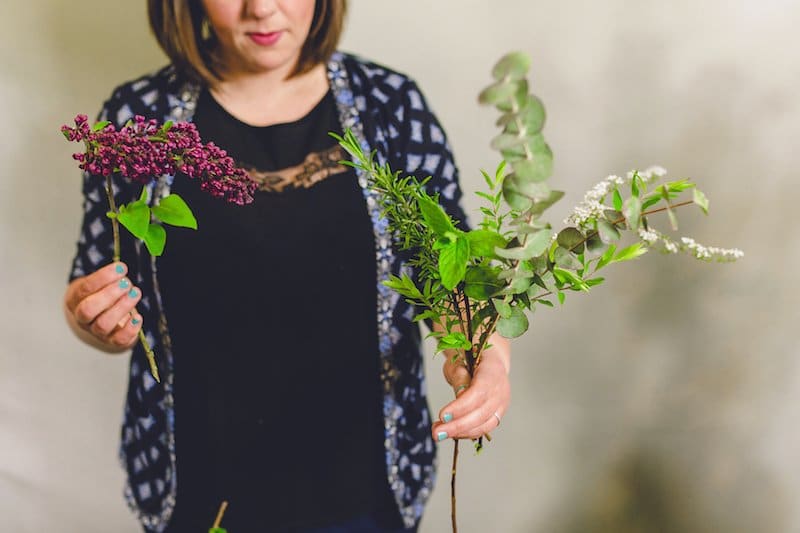
Start adding some flowers. I normally start with something a little bit bulky because it starts to hold everything together. I’ve started with lilac and I place 3 stems around the edge of the bouquet. It’s completely natural to try to grab your flowers and hold on for dear life, but for the best shape you want to try to have a nice relaxed hand.
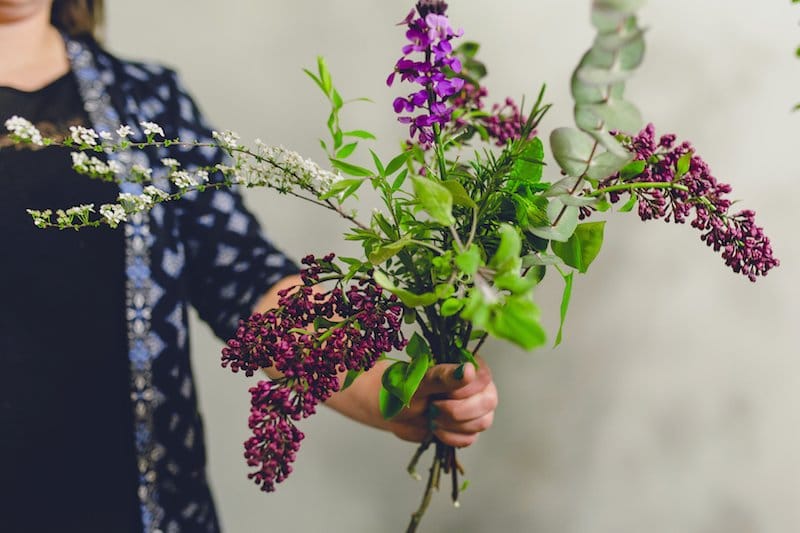
Start adding some flowers into the middle of your bouquet. I’ve used wallflowers and a few stems of spirea. Your bouquet won’t feel or look like a bridal bouquet, but persist, I promise it will come together in the end.
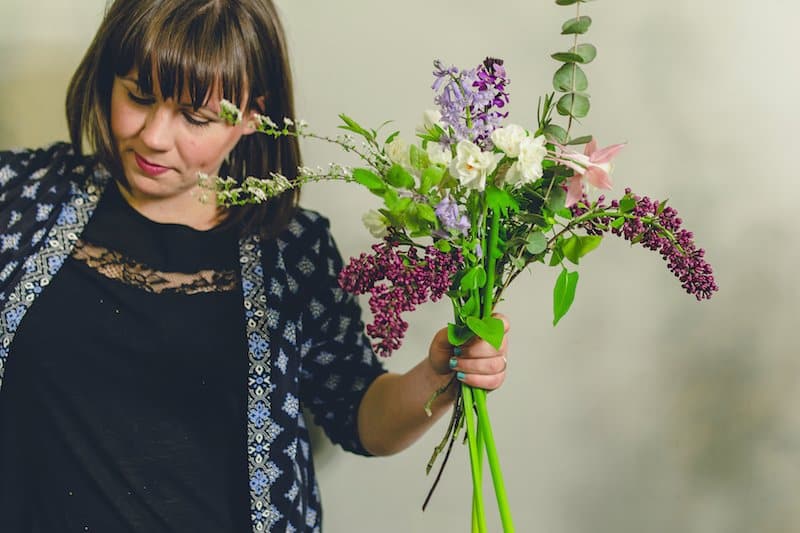
You want to start filling in any gaps now and adding in your main flowers. I started with the narcissi and bluebells and then finally adding in the roses at the end. Grab a mirror at this point and strike a pose or two. Take some time to look at your bouquet from lots of different angles and gently pull flowers up and push them down to get your desired shape. I love a loose domed bouquet with lots of foliage trails.
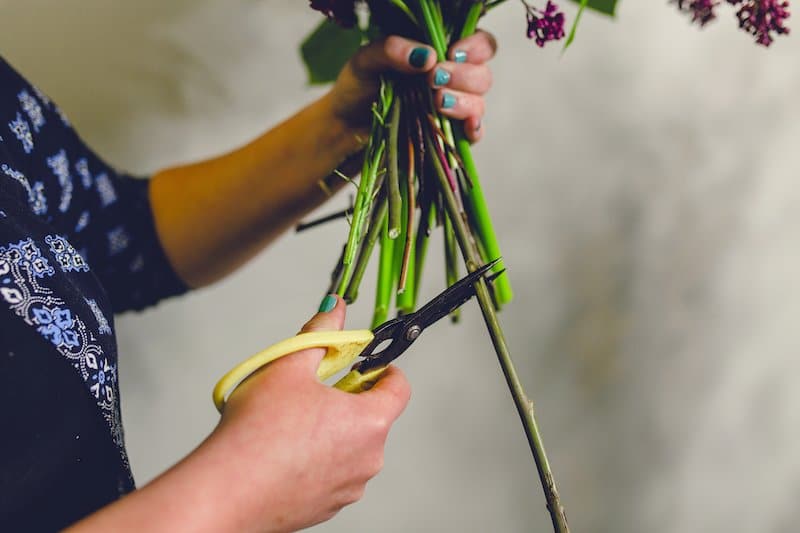
Cut your stems, and don’t be afraid to cut them quite short. I normally trim my bouquets to around 10cm, anything longer can get caught on bridal dresses and it also adds extra weight to the bouquet.
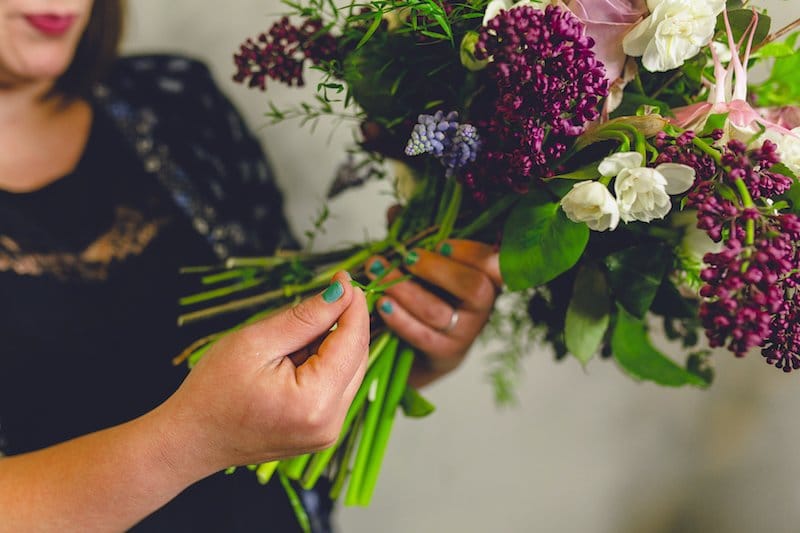
By now your hand may be feeling a little tired! You’ll be glad to know this is the step where we tie off our bouquet with twine or string. I lay it slightly in my hand and wrap twine or string around 3-4 times, getting tighter each time. Lay on a table to secure with a double knot and trim any ends.
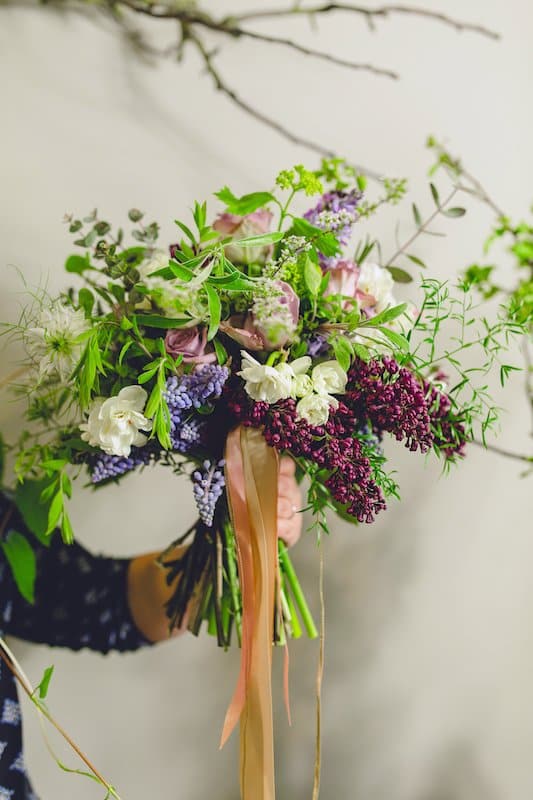
This is where you can adorn your bouquet with glorious ribbon trails. I’d recommend at least 2 meters per ribbon, if you want a real statement go longer! Don’t be afraid to have each trail at slightly different lengths, is just adds to the movement of the bouquet. We’ve opted for a brushed copper, thin metallic and soft blush satin ribbon. Fold the lengths in half and bend a wire around them. Simply thread into your tie point of your bouquet and tie another satin ribbon over the top to give you a lovely handle to hold as you show off your DIY bouquet.
Flower tutorial by Green Parlour www.greenparlour.com
Find out about our flower school here www.greenparlour.com/school
Photos by Benjamin Stuart Photography
Previously featured in Rock 'N' Roll Bride Magazine
Instagram #greenparlour